I believe I'll chime in at this point.
First, I'd like to say thank you to 4metals for inviting us all together on this one, the private message was definitely a bit bare on information.
I would say the filter picture in your second post of this thread definitely looked troublesome. I thought maybe it was just the angle of the picture, but it appears not to be.
Nitpicking out of the way first:
I do have a problem with the valves shown (orange handle), I feel that the internal design of the flap (I'm assuming its a butterfly style) may catch sediment, but this would only be a very small amount. As far as valves go, I'm a fan of knife gate with a cleanout access.
Some of the elbows, and angle of piping seems either sharp or severe in some areas, and could affect flow rates, or where hidden deposits of sediment could build.
Both of these nitpicks could cause a loss, but it would relatively minimal at the scale we're discussing.
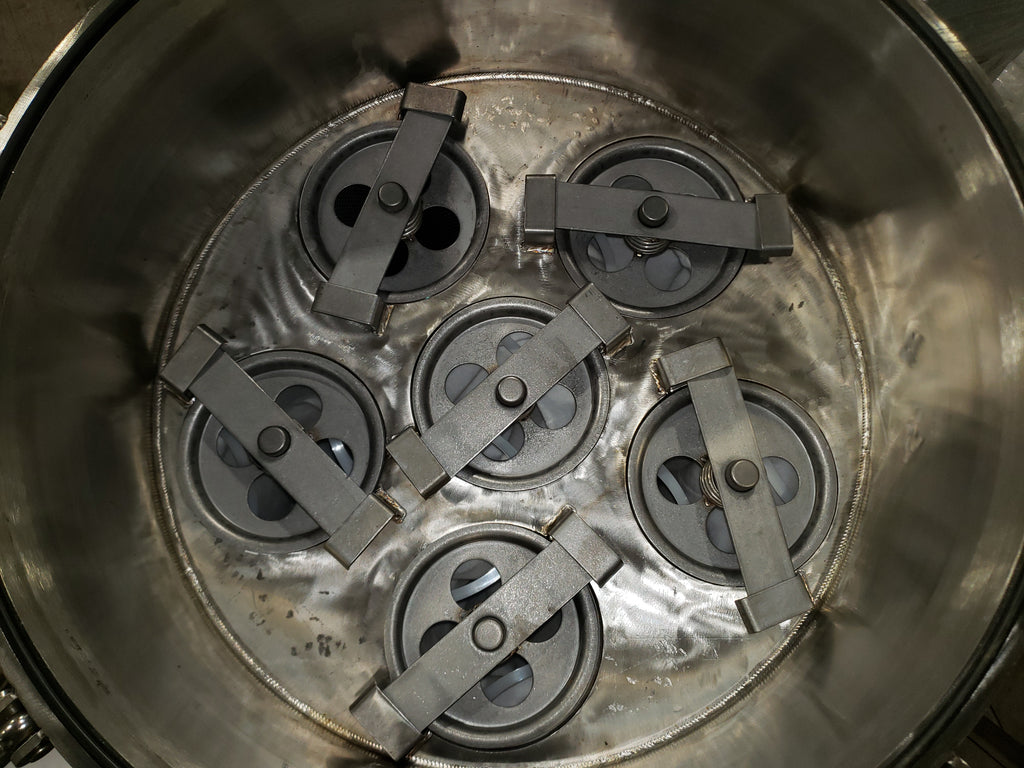
Onto the Filter:
A client of mine had a similar setup to what was pictured here, there were several problems that it posed:
1: Once the filter material started to get packed, usually from the center out, the edges would start seeing a higher flow rate and would slightly lift/curl the edges. and cause the seal to get pulled or loosen.
2: We had also come to a determination with the holes in bottom of the housing were a bit large and the filter material was allowed just enough space to settle into them slightly, like tiny little puddles potholes. With enough of those little indents (potholes/puddles) added together, it had pulled the filter taught/inward on the edges, which in turn would aid in the seal loosening.
3: Cleanout of the dry/cake material was a pain, it seemed you could never get it all. This was mainly seen when the seal and filter material were pulled, it seems the sediment would collect/ get packed between the filter material and the seal, and between the seal and the housing. Although this is not quite a loss as it is able to be collected, recovering all the sediment that had found its way into the seam (where the edge of the filter material/seal was pressed into) was extremely tedious to get recover, and would cause a poor seal on the next run if care was not taken to recover every last bit.
This problem seemed to build with every run, and the quality of the seal worsened slightly ever time. This resulted in the filter material becoming dislodged more often as time went on, number of runs increased.
The solution we came to for my clients setup was to modify the internal area of the filtration chamber, and it was converted to a multi bag setup. We had designed a drop in skeletal system in CAD to fit the existing chamber perfectly. The skeletal system had 9 vertical mesh cylinder chambers that the bags could drop into, the top plate of the skeleton system was welded into the existing chamber to eliminate any chance of sediment buildup on the edge. The inspiration for the idea came from a filtration system designed by a company named
PRMFiltration, but like the OP here, my client already had a chamber that we could work with, so we just designed an insert..
Below I have inserted some pictures from the
PRMFiltration website that gives you an idea of what I am referencing, you can look on their website for setups that more closely relate to yours.
Since we have converted my clients setup over this to this, cleanups have become much, much easier, and the previous issues we had are no longer present.


 Oh i know better!
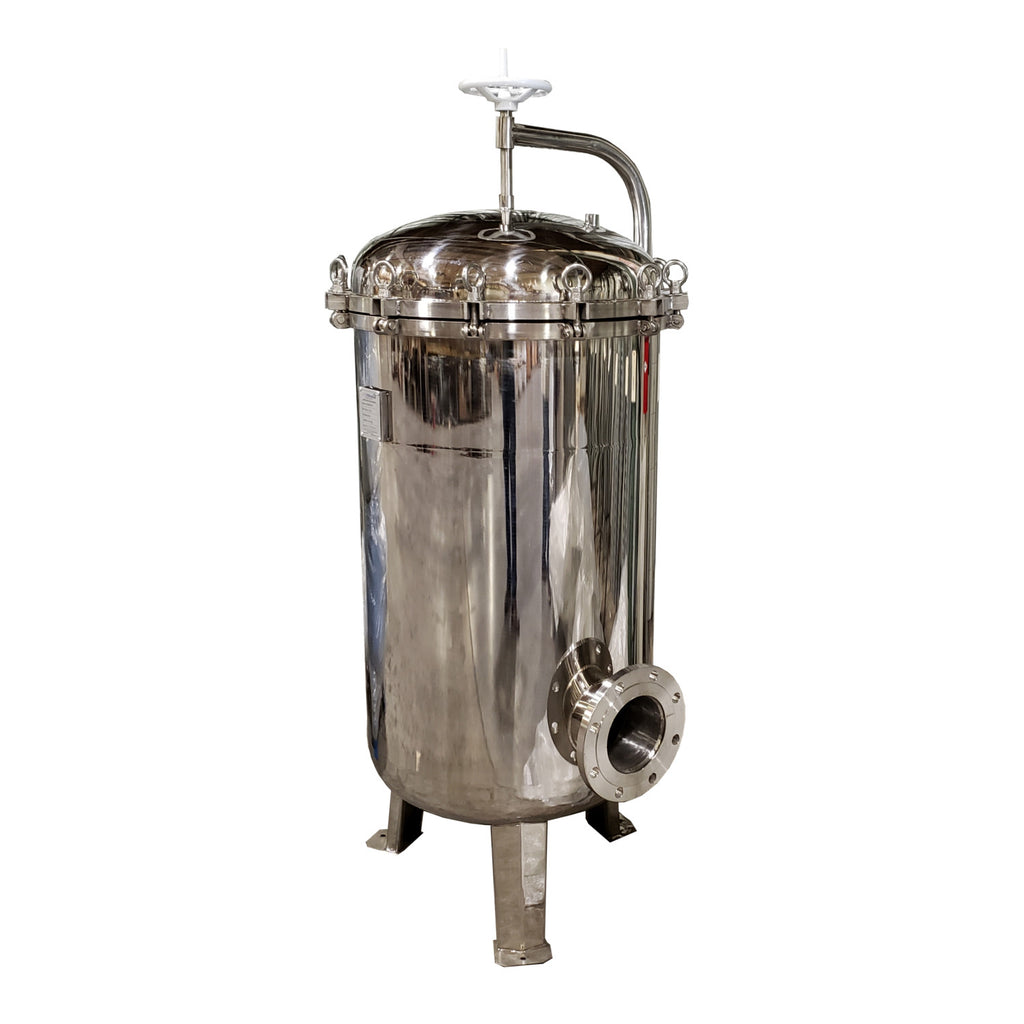
")
