


drozhenbane
Member
- Joined
- Jan 31, 2011
- Messages
- 12
Hello all,
I have been reading these forums for well over a year now and I felt it was time that I be part of the community. Now that the complete newbie in me has been laid to rest. First off I want to say thank you, to all active members who continue to work with new people to further the community. You all are really a great group of people and am very thankful for all your hard work/dedication. That being said on to my post...
When I first started the obvious issue was... Well I was broke, the economy blows and a guy needs anything that might give him an edge. With a little luck, a guy could possibly earn a few extra dollars and just maybe turn it into a full time job. I am sure anyone interested in this, is most likely in a similar situation. One of the biggest hurdles I had starting up was equipment and the inability to afford anything. So I had dig deep into my redneck roots and through much trial and error found a way to make it work. I wont be posting all the (at times borderline insane) ideas I tried. I will however share something that has helped me a great deal. It's not fancy, no way sophisticated and so simple I cant believe it took me so long to think of it.
Materials:
1 chunk of wood(in this case a 2x4 framing stud fragment)
1 Hand saw
about 5 minutes of your day
How to acquire:
You could of course have a 2x4 laying around(likely), and if you don't... go find one! If you are really hard up, go find a construction project going on somewhere. Chances are almost 100% that they have a 2x4 chunk in the garbage that you could easily ask for and get for free. As an added bonus, they will also have the saw to cut it with too. Double win! You could also of course just go buy a 2x4...
Step 1:
With your newly acquired block of wood(in my case an 18 inch chunk), saw a relatively straight line in the wood. The key part is to make that cut "Across The Grain", the reason for this is because a "With The Grain Cut" is structurally weak and will splinter easily. The depth of the cut, needs to match the width of finger you want to process(I have found a 1/2 inch cut works really nice over-all), but you can make multiple cuts to accommodate multiple sizes. They can even be made on the same chunk of wood, but I suggest a minimum of 3 inches between each cut(to prevent it from splintering).
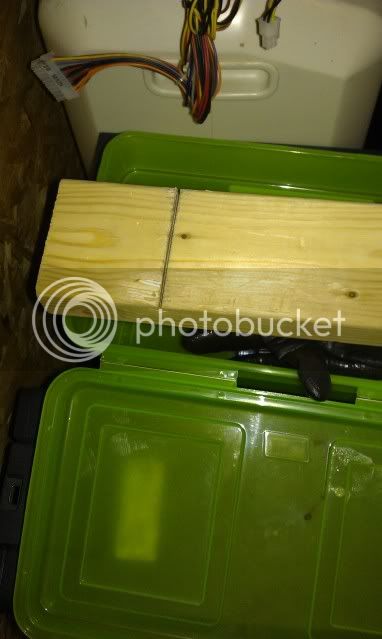
Step 2:
Insert the desired PCB into the cut line of the board, until it fits snug in the slot.
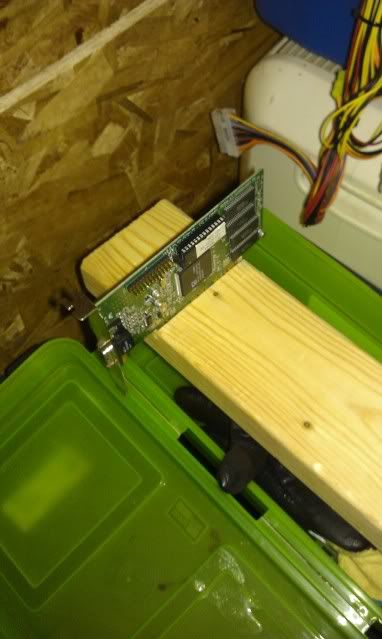
Step 3:
Using your hand(I suggest using gloves), grip the PCB and bend it until it snaps(Up or down doesn't really matter).
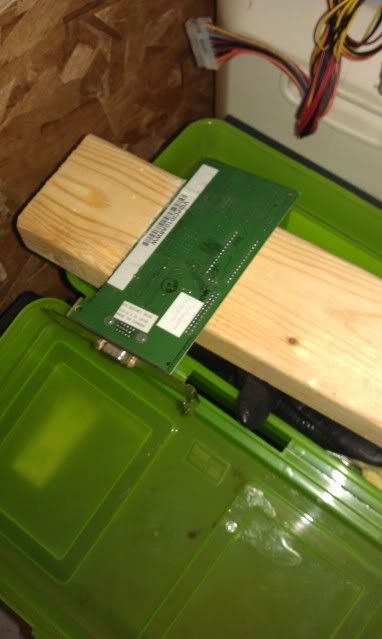
Step 4:
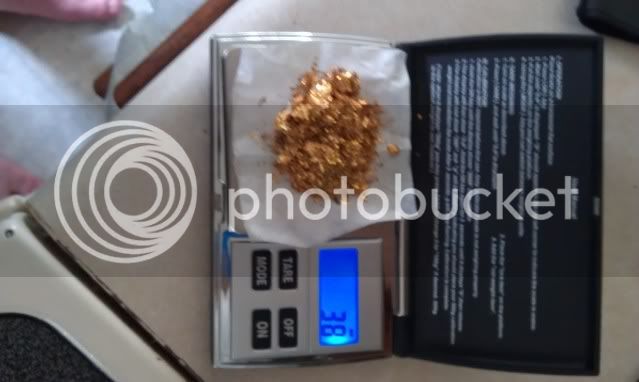
Grab PCB and reverse bend the direction(it will snap off cleanly) leaving the gold behind and the PCB is ready for further refining.
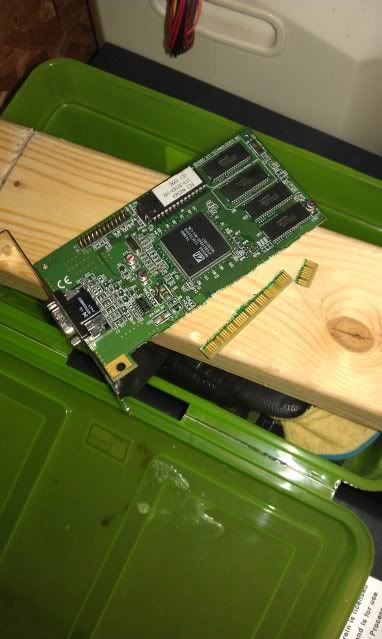
Step 5:
Refine it...
Even if you get started just salvaging the fingers, with little too no money involved, you can still work your way up to more cash flow. I have not covered refining or recovery of the gold for a reason. If the best you can do, is to take old computers, that people give to you free, and strip fingers to be sold to someone else. Well its something isn't it? MY suggestion to you(if you have the room), is to store as much as you can, until you can process the rest. Work within your means, and outsource what you have too. This journey is a learning process, and it is up to you, to determine how far you go. Best of luck to you all.
I have been reading these forums for well over a year now and I felt it was time that I be part of the community. Now that the complete newbie in me has been laid to rest. First off I want to say thank you, to all active members who continue to work with new people to further the community. You all are really a great group of people and am very thankful for all your hard work/dedication. That being said on to my post...
When I first started the obvious issue was... Well I was broke, the economy blows and a guy needs anything that might give him an edge. With a little luck, a guy could possibly earn a few extra dollars and just maybe turn it into a full time job. I am sure anyone interested in this, is most likely in a similar situation. One of the biggest hurdles I had starting up was equipment and the inability to afford anything. So I had dig deep into my redneck roots and through much trial and error found a way to make it work. I wont be posting all the (at times borderline insane) ideas I tried. I will however share something that has helped me a great deal. It's not fancy, no way sophisticated and so simple I cant believe it took me so long to think of it.
Materials:
1 chunk of wood(in this case a 2x4 framing stud fragment)
1 Hand saw
about 5 minutes of your day
How to acquire:
You could of course have a 2x4 laying around(likely), and if you don't... go find one! If you are really hard up, go find a construction project going on somewhere. Chances are almost 100% that they have a 2x4 chunk in the garbage that you could easily ask for and get for free. As an added bonus, they will also have the saw to cut it with too. Double win! You could also of course just go buy a 2x4...
Step 1:
With your newly acquired block of wood(in my case an 18 inch chunk), saw a relatively straight line in the wood. The key part is to make that cut "Across The Grain", the reason for this is because a "With The Grain Cut" is structurally weak and will splinter easily. The depth of the cut, needs to match the width of finger you want to process(I have found a 1/2 inch cut works really nice over-all), but you can make multiple cuts to accommodate multiple sizes. They can even be made on the same chunk of wood, but I suggest a minimum of 3 inches between each cut(to prevent it from splintering).
Step 2:
Insert the desired PCB into the cut line of the board, until it fits snug in the slot.
Step 3:
Using your hand(I suggest using gloves), grip the PCB and bend it until it snaps(Up or down doesn't really matter).
Step 4:
Grab PCB and reverse bend the direction(it will snap off cleanly) leaving the gold behind and the PCB is ready for further refining.
Step 5:
Refine it...
Even if you get started just salvaging the fingers, with little too no money involved, you can still work your way up to more cash flow. I have not covered refining or recovery of the gold for a reason. If the best you can do, is to take old computers, that people give to you free, and strip fingers to be sold to someone else. Well its something isn't it? MY suggestion to you(if you have the room), is to store as much as you can, until you can process the rest. Work within your means, and outsource what you have too. This journey is a learning process, and it is up to you, to determine how far you go. Best of luck to you all.


") lb
lb